# 404 Page
The **404 Page** settings in WordPress allow you to customize the appearance and content of the page displayed when users navigate to a non-existent or broken link on your website.
{% hint style="success" %}
Here's a short form of the **Site Hooks** settings process
**Step 1 : Login** to your WordPress admin dashboard.
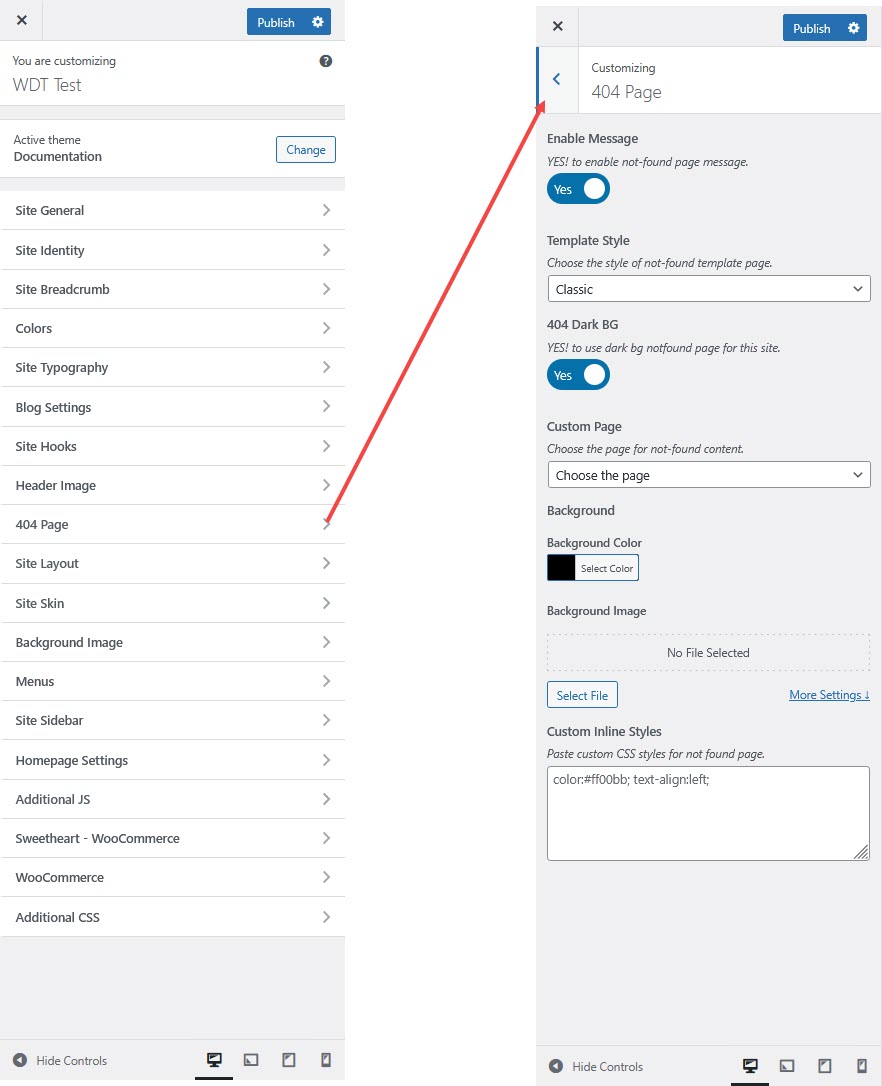
**Step 2 :** Go to **Appearance** > **Customize**.
**Step 3 :** Select **404 Page**.
**Step 4 :** Adjust the settings according to your preferences.
**Step 5 :** Click **Publish** to save your changes.
{% endhint %}
#### **404 Page Settings**
**Enable Message**
* **YES!** to enable a custom "Not Found" message on the 404 page.
* Helps inform visitors when a page is unavailable.
**Template Style:**
The **"Template Style"** setting for the **Not Found (404) Page** typically refers to the **visual layout** or **design variation** used when a user visits a page that doesn’t exist — like when a broken link is clicked or a mistyped URL is entered.
**Predefined Template:**
* Navigate to the dashboard > Pages > Locate the 404 page
* Edit the page with Elementor and modify the existing content according to your project requirements.
**Custom Page:**
* Navigate to the dashboard > Pages > Add new
* Enter a name for the page, such as **Custom 404 Page**.
* Click the **Edit with Elementor** button to design your custom 404 page.
* Customize your 404 page. **Use Elementor to style each element on your 404 page to match your design and branding needs.**
**Assign Your Custom 404 Page**
* **Navigate to the dashboard > Appearance > Customize > 404 page**
* Locate Custom Page > Select your custom 404 page