How to Install theme via FTP
How to Install a WordPress Theme via FTP
If you prefer to install your WordPress theme manually via FTP (File Transfer Protocol), follow these steps:
Step 1: Download and Extract the Theme
Log into your ThemeForest account.
Navigate to Downloads and find your purchased theme.
Click Download and select "Installable WordPress file only".
Extract the vogify.zip file on your computer.

Step 2: Connect to Your Server via FTP
Download and install an FTP client (e.g., FileZilla).
Open FileZilla and enter your FTP credentials (provided by your hosting provider):
Host: Your website's FTP address
Username & Password: From your hosting provider
Port: Default is
21for FTP or22for SFTP
Click Quickconnect to access your website’s files.

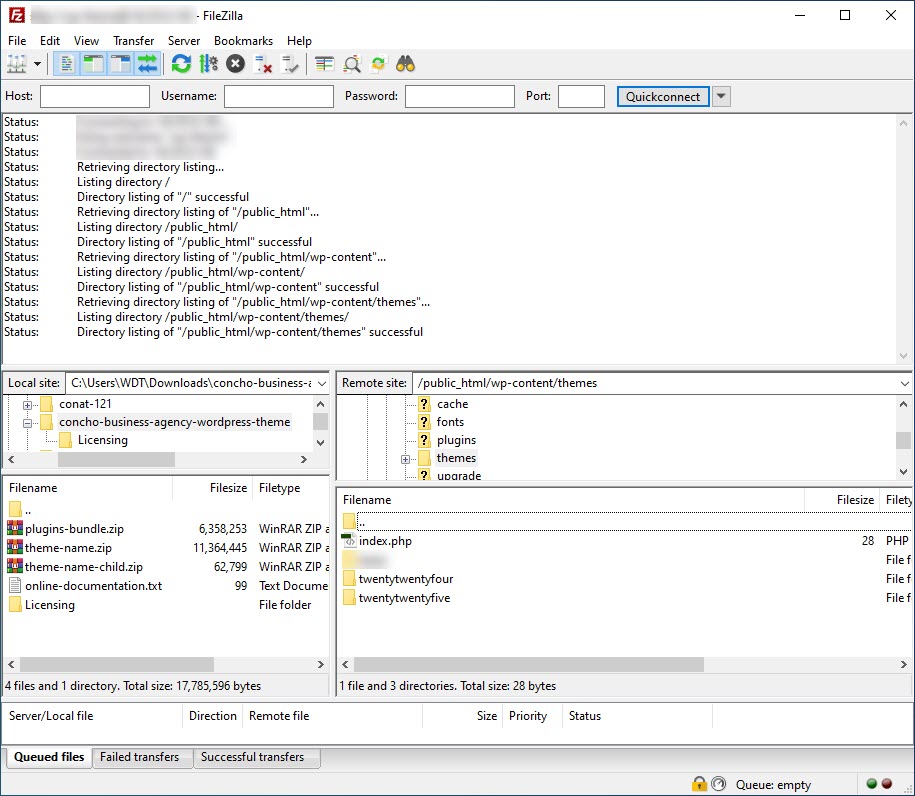
Step 3: Upload the Theme Files
In FileZilla, navigate to your website’s theme directory:
/wp-content/themes/On the left (local computer), locate the extracted theme folder (e.g.,
theme-name/).Drag and drop the entire theme folder into the
/themes/directory on the right.Wait for the upload to complete.
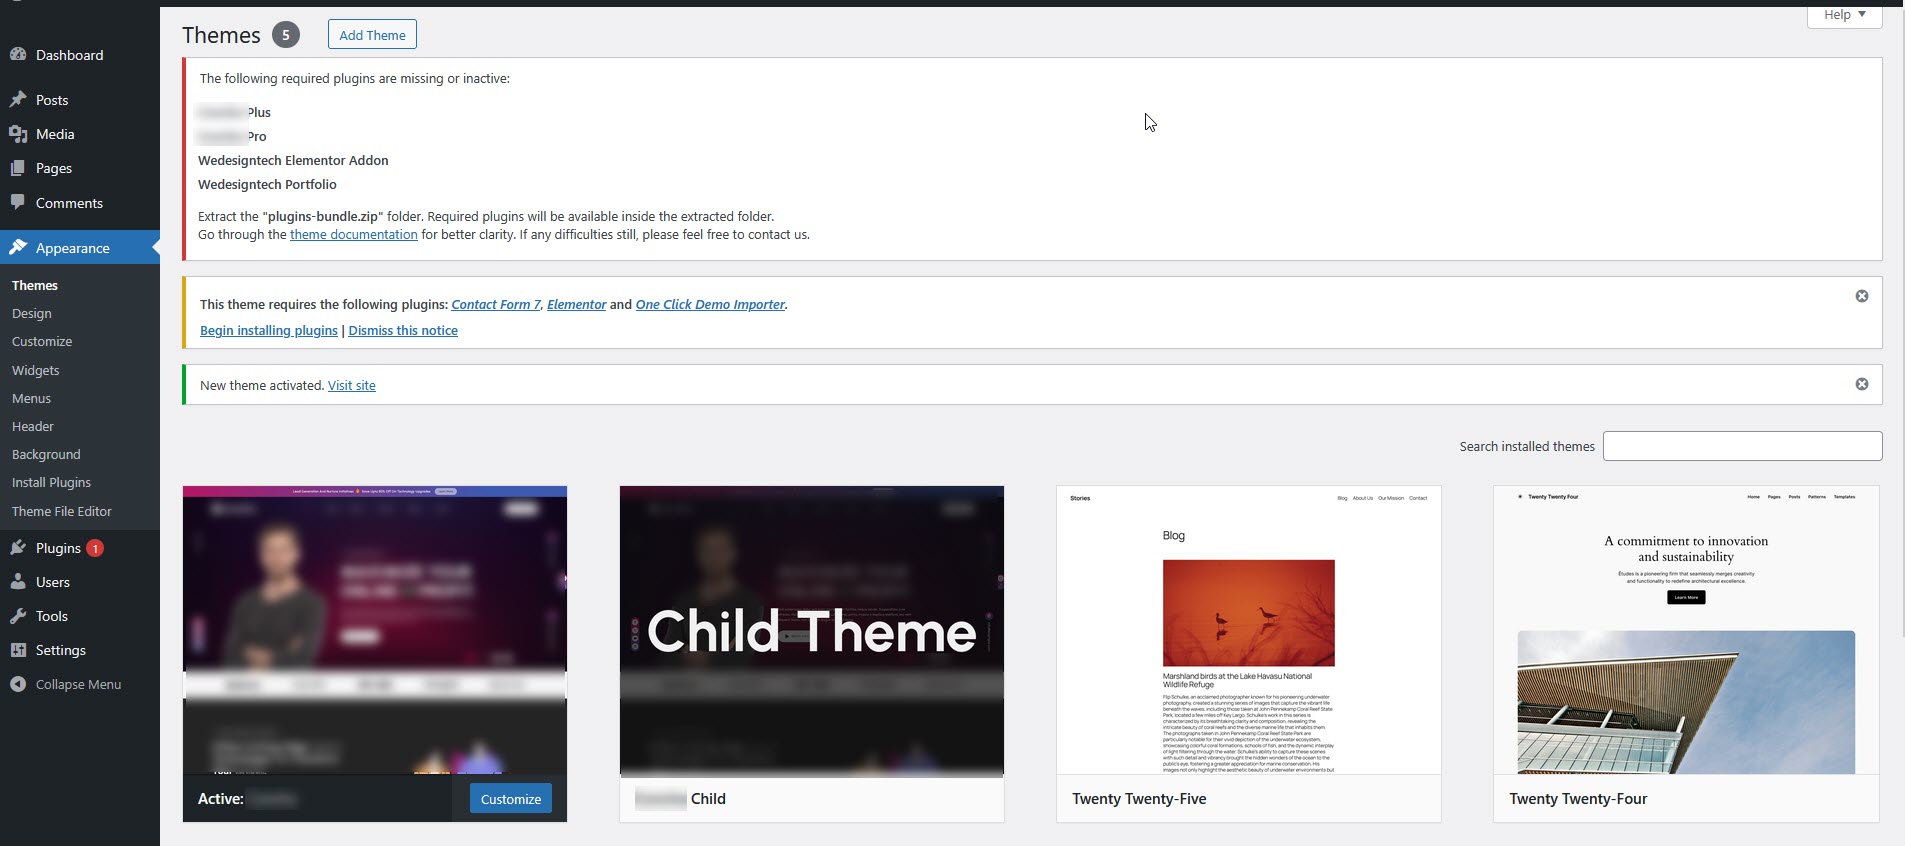
Step 4: Activate the Theme in WordPress
Log into your WordPress dashboard.
Go to Appearance → Themes.
Find the newly uploaded theme and click Activate.


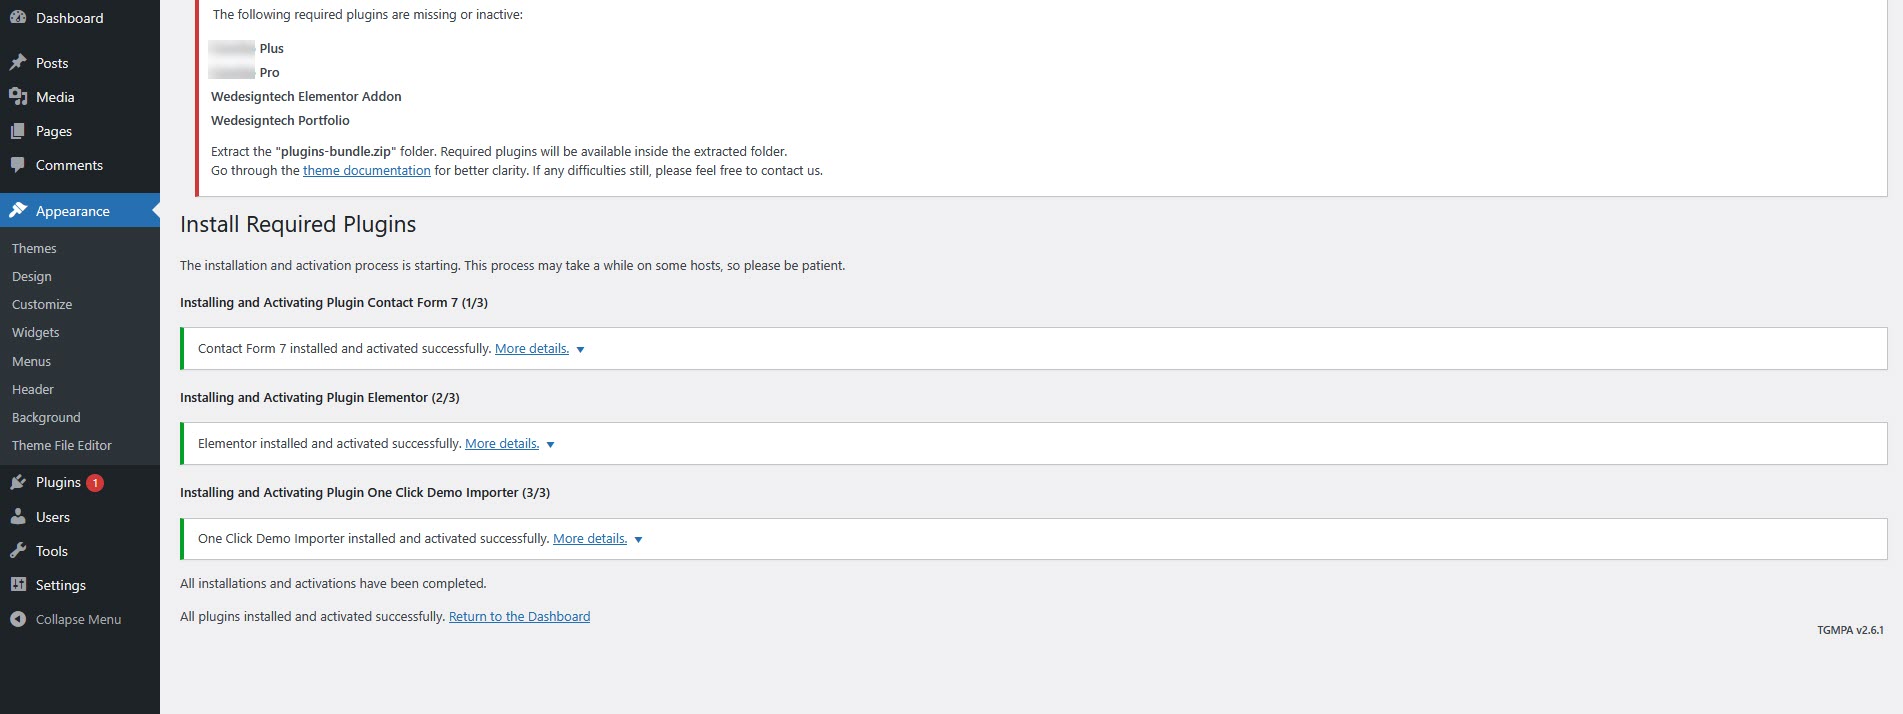
Step 5 : Import Demo Content
Go to Appearance → Install Plugins in your WordPress dashboard.
Install and activate the One Click Demo Import plugin (if not pre-installed).
Go to Appearance → Import Demo Data.
You will see a list of available demo layouts.
Choose the demo you want to import.
Click the "Import" button.
Wait for the process to complete (this may take a few minutes, depending on your server speed).

